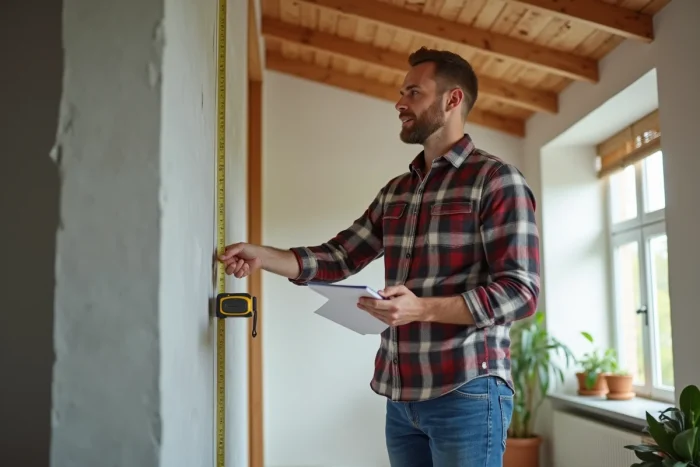
Sometimes you have to admit that calculating surfaces does not like inclination. The slightest wall panel that deviates from the vertical twists habits and complicates even the simplest estimation, whether it is about renovating, insulating, or otherwise arranging the space.
A slope is enough to complicate everything. From then on, every number counts, every measurement becomes a serious matter. The official rules apply only to the part of the wall where one stands (beyond 1.80 m), but the reality of a construction site or a renovation project requires calculating everything to avoid unpleasant surprises. Giving in to approximation? A bad bet: an error per square meter can disrupt budgets, ordered quantities, and deadlines.
What are the square meters of a sloped wall for? This detail that makes the difference
The real value of a sloped wall is not obvious. On the side of property diagnostics, the famous Carrez law mandates that only spaces where the ceiling height exceeds 1.80 m be counted. The property’s evaluation is directly impacted, which can tip the scales during a sale or purchase negotiation. However, when a contractor estimates their intervention—insulation, painting, drywall—they examine the entire surface, not just the “habitable” area as defined by the law. This difference in criteria quickly slips into the files, and misunderstandings accumulate, leading to chaos during the acceptance of the work.
A lax method results in materials ordered in excess or insufficient amounts. Waste then joins unexpected expenses, and the construction site faces delays that could have been avoided. To limit the damage, a few tools prove invaluable, starting with the calculation of the m2 of a sloped wall. This type of resource helps clear doubts, apply a proven method, and, above all, place orders with peace of mind.
Measuring tape or digital application, it doesn’t matter what tool: only a meticulous approach truly makes the difference. Settling for a rough estimate is a luxury that no one can afford with sloped walls.
Calculating the surface of a sloped wall: simple method
Divide the surface to aim accurately
With a straight wall, multiplying length x height works without a second thought. But as soon as the slope comes into play, dividing becomes the rule. To obtain a reliable measurement, divide the wall into simple shapes: rectangles for the straight part, triangles or trapezoids for the sloped section. This partitioning limits omissions and secures your calculations.
Here are the steps to consider to leave nothing to chance:
- Measure accurately the length of the wall at the floor, taking into account any recesses and projections
- Note the highest and lowest heights, essential if the slope cuts the wall diagonally
- Use the appropriate formulas for each portion of the surface (rectangle, triangle, trapezoid), add them up to obtain the total area without mistakes
Beware of forgotten corners
Rushing the verification or omitting a small window can collapse the entire calculation. Attics and rooms with sloped ceilings are full of traps: nothing like it to cause measurement errors and off-target orders. A neglected detail today can cost dearly tomorrow, and sometimes, just one centimeter too much or too little can disrupt your organization.
Take the time to note every dimension, even the most atypical ones. What seems trivial today can quickly become the cause of a blockage or an extra cost if the project goes awry.
Simulators and digital tools: when technology simplifies construction sites
As soon as the configuration becomes complex, it would be a shame to miss out: digital tools boost reliability and free the mind from manual calculations. Entering the measurements—length, height, angle—is enough: the surface appears instantly, and with an accuracy that leaves little room for error. Some take realism to the next level with 3D modeling to ensure that every angle is well accounted for.
Using software offers several concrete benefits:
- Gather results that can be updated at any time during the project
- Calculate material purchases accurately, avoiding overstock or shortages
- Share the details of the measurements with the team or client to avoid any ambiguity
When mastered, these tools chase away the fear of error: everything integrates into your forecasts, even the most awkward part of the wall. The key is that every square meter already has its place in your work plan and your quote, without stress and without secrets.
With good data entry, square meters are no longer a headache: the calculation no longer stands in your way; it becomes the silent ally of the project. It’s up to everyone to imagine what this precision will allow them to achieve once the walls are stripped bare.